


L-374’s Nick Tokarz explains the hammer forging process.
View Photo Gallery (6 photos)
Hammer forging offers apprentices opportunity to try age-old craft
BOILERMAKER APPRENTICE INSTRUCTORS attending the first-ever BNAP-sponsored national conference in Chicago in May took a road trip to nearby Local 374 (Hammond, Indiana) to watch a demonstration of blacksmithing skills.
Nick Tokarz, L-374 Assistant Director of Development and Training, coordinated and led the demonstration, assisted by L-374 welding instructor Pete Merkel along with Pat Quinn and Dan Neville of the Center for Metal Arts in Johnstown, Pennsylvania.
Tokarz and his colleagues walked the instructors through the process of turning a carbon steel blank into a finished 4-lb hammer using centuries-old blacksmithing methods. The L-374 blacksmith shop includes a forge and power hammer that Tokarz and apprentices built in-house. Tokarz also hand-made many of the shop’s blacksmithing tools and acquired the shop’s anvils at auctions.
The hammer forging exercise has become a popular tradition for fourth-year apprentices who have completed their certifications and want to test their abilities in the blacksmith craft.
“The guys that stick with it are pretty proud,” Tokarz said. “Several apprentices who are third-generation Boilermakers have made hammers, put their names on them, put their fathers’ registration numbers on them and given them to their fathers. That shows a lot of character.”
Instructors who attended the demonstration asked a lot of questions during and after the sessions. Tokarz said many expressed their gratitude. “They really liked what we’re doing because it brings back some of our history. Blacksmithing is part of our heritage.”
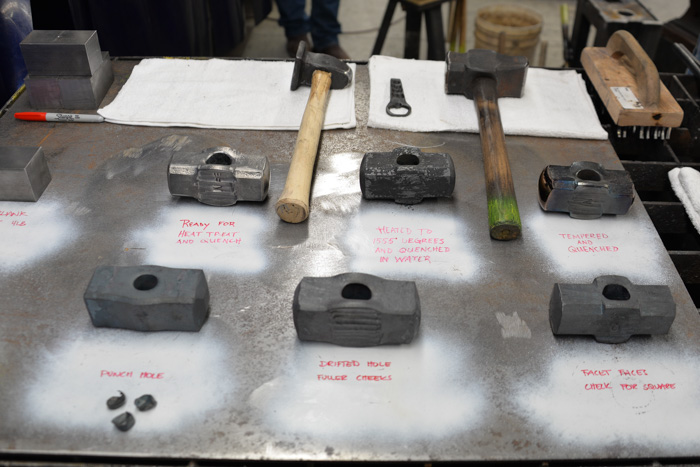
A “storyboard” depicts stages of the hammer-making process, from a steel blank to a tempered and quenched piece ready for a handle.
Forging a 4-lb hammer (approximately 8 hours)
- Start with a 2”x 2” block of 1045 medium carbon steel cut to 4 inches long.
- Heat and draw to elongate the stock.
- Break all corners and pillow the faces.
- Punch hole for the handle.
- Use a drift tool to open the hole and straighten.
- Push out the cheeks for greater surface area to grip the handle.
- Set the facet and draw the hammer out front and back.
- Wire brush and clean up.
- Heat treat at 1555 degrees F to harden.
- Quench in water.
- Clean up faces and wire brush.
- Temper. Heat hammer to 440-500 degrees F. (Tempering relieves stress due to the hardening process and adds color to the hammer.)
- Insert handle.
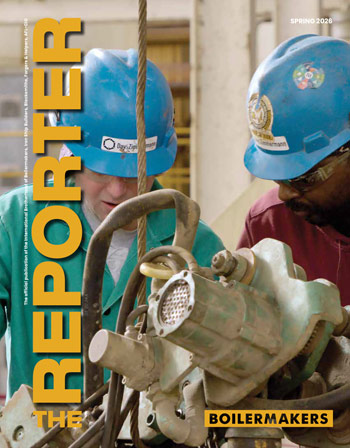


 and Carlos Brooks (right) get ready to talk to workers at Trojan Battery in Sandersville, Georgia")